
Let’s Authenticate our chat app users by creating a login and register functionality using Laravel Sanctum
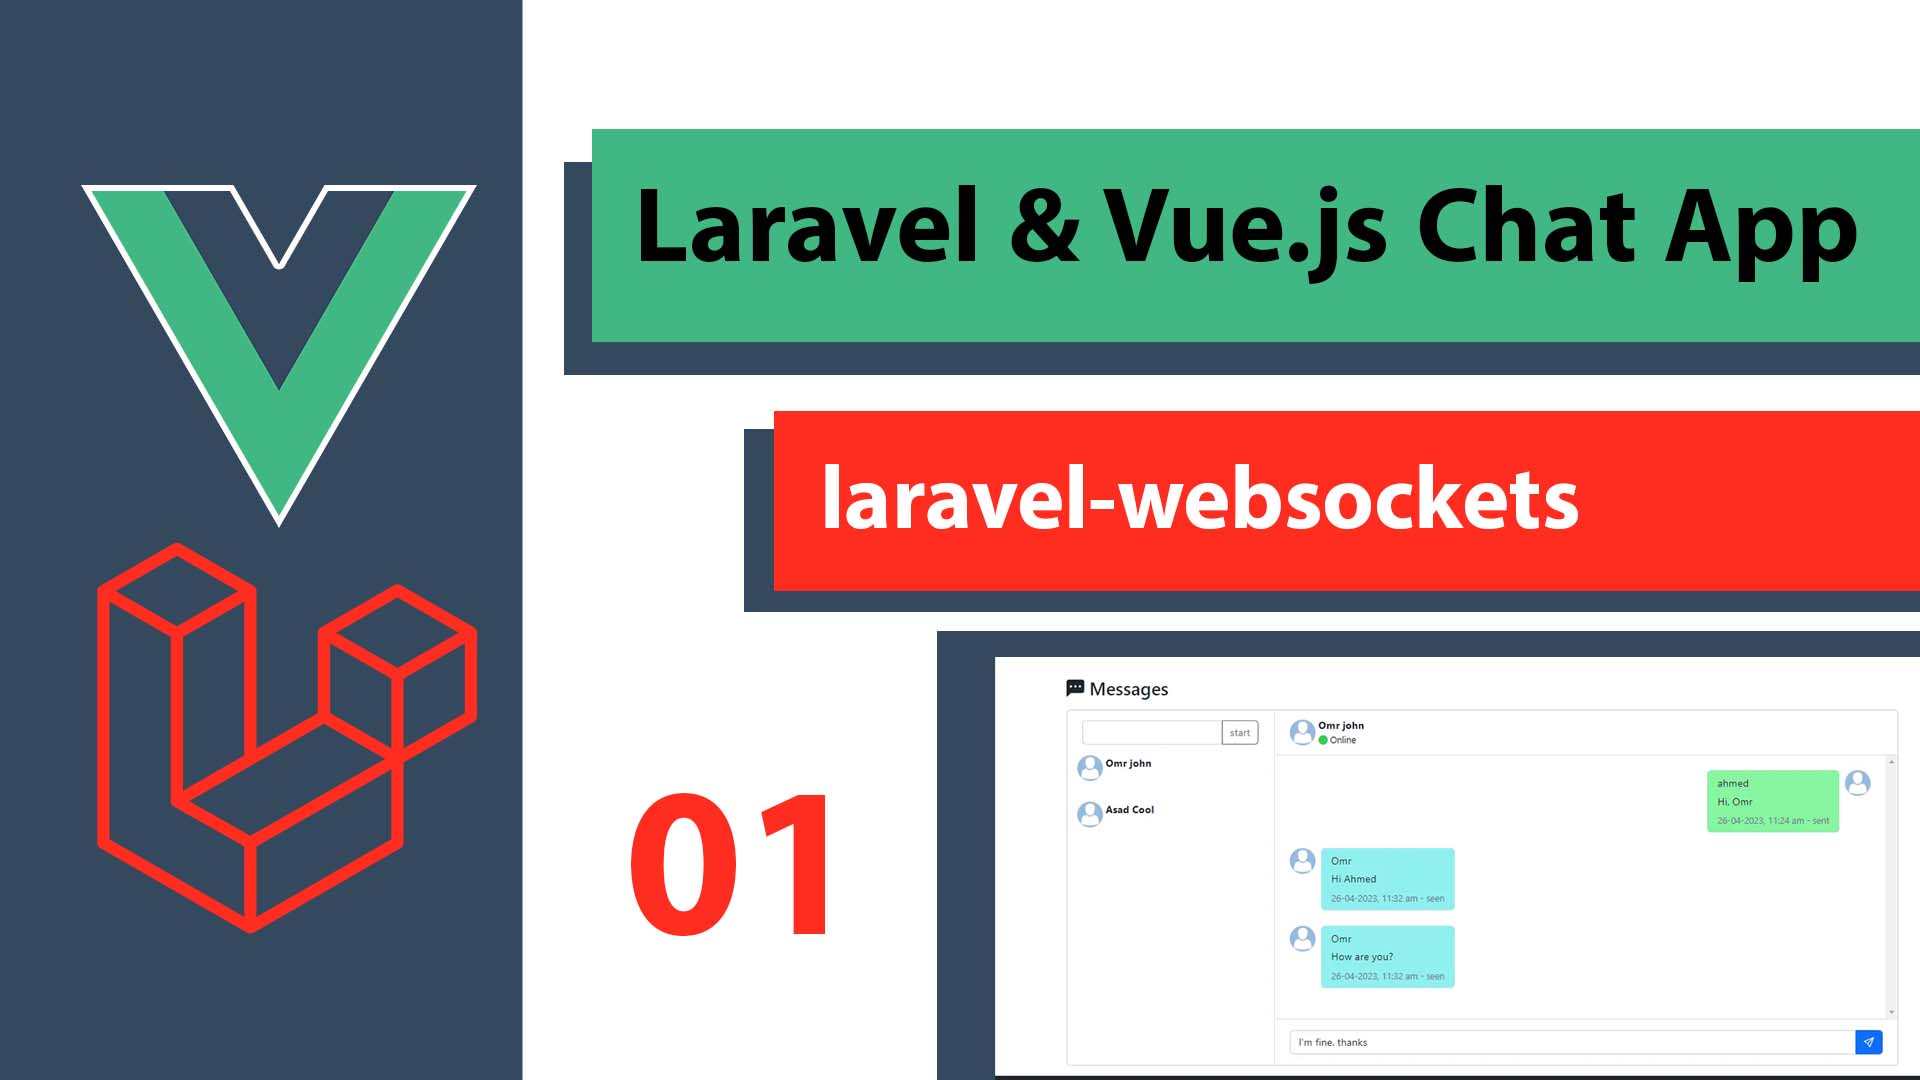
The chat app’s backend will be Laravel 10 and we will use RESTful API for HTTP requests and Laravel WebSockets package for real-time calls in addition to MySQL Database for storing the chat messages and details.
course content
Chat App Backend
Let’s create our Backend as a new Laravel application using composer.
composer create-project laravel/laravel chat-apiLet’s go to the project folder
cd chat-apiI’m using XAMPP for MySQL Database. We need to add the database connection details as the following in the .env file
DB_CONNECTION=mysql
DB_HOST=127.0.0.1
DB_PORT=3306
DB_DATABASE=chatapp
DB_USERNAME=root
DB_PASSWORD=
Let’s update the users’ table schema database\migrations\2014_10_12_000000_create_users_table.php
We will add some more columns as the following.
<?php

use Illuminate\Database\Migrations\Migration;
use Illuminate\Database\Schema\Blueprint;
use Illuminate\Support\Facades\Schema;

return new class extends Migration
{
    /**
     * Run the migrations.
     */
    public function up(): void
    {
        Schema::create('users', function (Blueprint $table) {
            $table->id();
            $table->string('first_name');
            $table->string('last_name');
            $table->string('email')->unique();
            $table->string('phone')->unique()->nullable();
            $table->string('gender')->nullable();
            $table->string('image')->nullable();
            $table->string('birth_date')->nullable();
            $table->string('role')->nullable();
            $table->timestamp('email_verified_at')->nullable();
            $table->timestamp('phone_verified_at')->nullable();
            $table->string('password');
            $table->string('status');
            $table->rememberToken();
            $table->timestamps();
        });
    }

    /**
     * Reverse the migrations.
     */
    public function down(): void
    {
        Schema::dropIfExists('users');
    }
};
Let’s specify fillable fields in the User model app\Models\User.php
class User extends Authenticatable
{
protected $fillable = [
        'first_name',
        'last_name',
        'email',
        'phone',
        'gender',
        'password',
        'image',
        'birth_date',
        'role',
        'status',
        'email_verified_at',
        'phone_verified_at',
    ];
//
Laravel Sanctum
Laravel Sanctum is a lightweight authentication system that allows each user of our chat application to generate API tokens for their account to be used in the frontend (Vue.js application) that we will create later.
We will install the package via the composer
composer require laravel/sanctumNow, let’s publish its files
php artisan vendor:publish --provider="Laravel\Sanctum\SanctumServiceProvider"Let’s migrate all the tables
php artisan migrateLet’s add its middleware in $middlewareGroups in app/Http/Kernel.php
'api' => [
    \Laravel\Sanctum\Http\Middleware\EnsureFrontendRequestsAreStateful::class,
    \Illuminate\Routing\Middleware\ThrottleRequests::class.':api',
    \Illuminate\Routing\Middleware\SubstituteBindings::class,
],
Here’s the service provider in app\Providers\AppServiceProvider.php
<?php

namespace App\Providers;

use Illuminate\Support\ServiceProvider;
use Laravel\Sanctum\PersonalAccessToken;
use Laravel\Sanctum\Sanctum;

class AppServiceProvider extends ServiceProvider
{
    /**
     * Register any application services.
     */
    public function register(): void
    {
        //
    }

    /**
     * Bootstrap any application services.
     */
    public function boot(): void
    {
        Sanctum::usePersonalAccessTokenModel(PersonalAccessToken::class);
    }
}
Finally, let’s add its trait for the users in app\Models\User.php
<?php

namespace App\Models;

use Illuminate\Database\Eloquent\Factories\HasFactory;
use Illuminate\Foundation\Auth\User as Authenticatable;
use Illuminate\Notifications\Notifiable;
use Laravel\Sanctum\HasApiTokens;
class User extends Authenticatable
{
    use HasApiTokens, HasFactory, Notifiable;

    /**
     * The attributes that are mass assignable.
     *
     * @var array<int, string>
     */
    protected $fillable = [
        'first_name',
        'last_name',
        'email',
        'phone',
        'gender',
        'password',
        'image',
        'birth_date',
        'role',
        'status',
        'email_verified_at',
        'phone_verified_at',
    ];

    /**
     * The attributes that should be hidden for serialization.
     *
     * @var array<int, string>
     */
    protected $hidden = [
        'password',
        'remember_token',
    ];

    /**
     * The attributes that should be cast.
     *
     * @var array<string, string>
     */
    protected $casts = [
        'email_verified_at' => 'datetime',
    ];

}
Laravel User Registration API
To register a new user, we will create a new controller responsible for all the tasks of the registration in the new Auth folder as the following.
php artisan make:controller Auth\RegisterController We need to create a new class for validating the data using the Laravel form request feature.
php artisan make:request Auth\RegistrationRequestBelow are the validation rules for creating a new user for our Laravel chat app API, they are just simple nothing too fancy about them. app\Http\Requests\Auth\RegistrationRequest.php
<?php

namespace App\Http\Requests\Auth;

use Illuminate\Foundation\Http\FormRequest;

class RegistrationRequest extends FormRequest
{
    /**
     * Determine if the user is authorized to make this request.
     *
     * @return bool
     */
    public function authorize()
    {
        return true;
    }

    /**
     * Get the validation rules that apply to the request.
     *
     * @return array<string, mixed>
     */
    public function rules()
    {
        return [
            'first_name' => 'required|max:50',
            'last_name' => 'required|max:50',
            'email' => 'required|unique:users,email',
            'phone' => 'sometimes|unique:users,phone|digits_between:10,20',
            'password' =>'required|min:6',
            'gender' =>'sometimes|max:20',

        ];
    }
}
Let’s use our validation class in app\Http\Controllers\Auth\RegisterController.php. The controller will have one function and we will use sanctum for generating a new token upon registration by $user->createToken('user',['app:all'])->plainTextToken;
<?php

namespace App\Http\Controllers\Auth;

use App\Http\Controllers\Controller;
use Illuminate\Http\Request;
use App\Models\User;
use Hash;
use App\Http\Requests\Auth\RegistrationRequest;

class RegisterController extends Controller
{

    public function register(RegistrationRequest $request){

        $newuser = $request->validated();

        $newuser['password'] = Hash::make($newuser['password']);
        $newuser['role'] = 'user';
        $newuser['status'] = 'active';
        $user = User::create($newuser);
        $success['token'] = $user->createToken('user',['app:all'])->plainTextToken;
        $success['name'] = $user->first_name;
        $success['success'] = true;
        return response()->json($success, 200);

    }
}
We will return the user’s first name and the access token in JSON format.
Finally, let’s add the registration route to the routes\api.php file
<?php

use Illuminate\Http\Request;
use Illuminate\Support\Facades\Route;
use App\Http\Controllers\Auth\RegisterController;
/*
|--------------------------------------------------------------------------
| API Routes
|--------------------------------------------------------------------------
|
| Here is where you can register API routes for your application. These
| routes are loaded by the RouteServiceProvider and all of them will
| be assigned to the "api" middleware group. Make something great!
|
*/
//auth
Route::post('register',[RegisterController::class, 'register']);

Route::middleware('auth:sanctum')->get('/user', function (Request $request) {
    return $request->user();
});
Laravel User Login API
As we did with registration, let’s create the login controller and the form request for validation.
php artisan make:controller Auth\LoginControllerphp artisan make:request Auth\LoginRequestWe will just validate the email and password fields with the incoming requests for login.
<?php

namespace App\Http\Requests\Auth;

use Illuminate\Foundation\Http\FormRequest;

class LoginRequest extends FormRequest
{
    /**
     * Determine if the user is authorized to make this request.
     *
     * @return bool
     */
    public function authorize()
    {
        return true;
    }

    /**
     * Get the validation rules that apply to the request.
     *
     * @return array<string, mixed>
     */
    public function rules()
    {
        return [
            'email' => 'required|email',
            'password' => 'required',
        ];
    }
}
In our Login controller, we will regenerate a new toke with every login and delete the old access tokes for the simplicity of this course. app\Http\Controllers\Auth\LoginController.php
<?php

namespace App\Http\Controllers\Auth;

use App\Http\Controllers\Controller;
use Illuminate\Http\Request;
use App\Http\Requests\Auth\LoginRequest;
use Auth;
use App\Events\LoggedIn;

class LoginController extends Controller
{
    public function login (LoginRequest $request){

          $credentials = [
              'email' => $request->email,
              'password' => $request->password,
          ];

          if(auth()->attempt($credentials )){
            $user = Auth::user();

            $user->tokens()->delete();
            $success['id'] = $user->id;
            $success['token'] = $user->createToken(request()->userAgent())->plainTextToken;
            $success['name'] = $user->first_name;
            $success['success'] = true;

            return response()->json( $success,200);

          }else{
            return response()->json(['error'=> __('auth.Unauthorised')],401);
          }

    }
}
Finally, add the route in routes\api.php
use App\Http\Controllers\Auth\LoginController;

Route::post('login',[LoginController::class, 'login']);
Now our application is ready for the user to register and login
The next tutorial is Laravel Chat RESTful API | Chat App 02