

In this HTML crash course, we will learn the basics of HTML and how it works with an example project of creating a blog that consists of a home page and a post page.
What is HTML?
HTML is the structure of websites. In fact, it tells your web browser how to display a website. So that, It’s not a programming language actually, HTML is a markup language. And, It’s so easy to learn.
HTML consists of elements that describe your web page content to the browser. And From the Tag of the element, the browser knows what the content is.
What we cover in this HTML crash course.
In this HTML crash course, we will learn the basics of HTML. And, how it works with an example project of creating a blog. So that will help us to learn to add images and tables. In addition to, creating article cards. And, linking web pages together.
HTML basic
HTML example of an HTML code for web page.
<!DOCTYPE html>
<html>

<head>
<title>The Web Page Title</title>
</head>

<body>
<h1>this is the heading element</h1>
<p>this is a paragraph element.</p>
</body>

</html>
Let’s explain it
<!DOCTYPE html>it tells the browser that we are using HTML5. So that, the browser compile our code correctly.<html>is the root element of an html page, we put all the other element inside it. and we close it via</html><head>is the element of the meta information about your web page, all the elements inside it won’t be shown it the browser.<title>we use this element for the title of the web page, the title will be shown in the browser title bar at in the web page’s tab.<body>all its elements are visible because it’s the document’s body, and, you will put text, images, paragraphs, hyperlinks, tables, lists, etc inside it to be visible for your website visitors.<h1>is the element for displaying large heading.<p>is the element for displaying paragraph.
HTML elements
The HTML element is the container for the content. And, it tells the browser how to display the website.
Elements consist of Tags as the following:
<tagname>...Content ...</tagname>Tags are the label of the element, they describe the element example
<h1>..Large heading..</h1>
<p>..paragraph...</p>
<div>..content.. </div>
There are 2 types of elements
Elements have an opening tag and a closing tag. we add “/” to the closing tag.
<tagname>...Content ...</tagname><h1>..Large heading..</h1>
<p> ..paragraph...</p>
<div>..content.. </div>Elements that stand alone such as the image element. They have no closing tag we just add />
<img src="photo.jpg" />Nesting HTML elements
HTML elements can be nested. And, the element that opens first closes last. In addition, it ignores the space between the elements.
<div>

<h2>my list to do</h2>
<p> ..paragraph...</p>

   <div>
      <ul>
        <li>todo 1</li>
        <li>todo 2</li>
        <li>todo3</li>
      </ul>
    </div>

</div>
HTML Attributes
Attributes provide more information about an HTML element. We put the attributes in the opening tag of the element <div id="main-content">. Attributes come in name and value like: name="value"
<a href="https://ahmedshaltout.com">visit my website</a>The <a> the element defines a hyperlink. The href attribute is for the URL to go when clicking on the visit my website link.
you can add many attributes to one element.
<img src="flower.jpg" alt="red flower" style="width:200px" />Creating HTML file and write codes
We write HTML in a file with the extension “.html” or “.htm”. For example, if we want to create a home page, we can create an “index.html” file like the following:
If you are using windows: right-click from the menu hover on new and click on Text Document.
Open the new file, and from the File menu click on save as then at file name rename the file to be “index.html” and make sure the Encoding is UTF-8 and click save.
You cannot memorize all the codes and write every single code we need something to help us, correct us, auto-complete our codes so we don’t waste time. we need a code editor to get the job done!
There are tons of editors out there for free or paid, I’m using VS Code it’s free and popular.
Let’s Create a blog website.
We will learn more about HTMLwhile building the blog website that is about animals we will create:
- Home page: index.html
- Post page: post.html
Create a new folder and name it “dog-blog” then download these two pictures dog1, dog2 and rename them “dog1.jpg” and “dog2.jpg”.
Open the dog-blog folder in VS Code and create two new files inside it “index.html” and “post.html”.
Let’s create our home page
Open the index.html and type “!” you should see the auto-complete, if you choose the first one it will add this code to our page
<!DOCTYPE html>
<html lang="en">
<head>
    <meta charset="UTF-8">
    <meta http-equiv="X-UA-Compatible" content="IE=edge">
    <meta name="viewport" content="width=device-width, initial-scale=1.0">
    <title>Document</title>
</head>
<body>

</body>
</html>
We see some new elements:
<meta charset="UTF-8">for telling the browser this document using UTF-8 encoding<meta http-equiv="X-UA-Compatible" content="IE=edge">the X-UA-Compatible meta tag allows web authors to choose what version of Internet Explorer the page should be rendered as.<meta name="viewport" content="width=device-width, initial-scale=1.0">it tell the browser instructions on how to control the page’s dimensions and scaling for resposive view.
Change the title for the web page title to be Dog Blog.
<title>Dog Blog</title>But the title won’t be shown on the web page. So, how can we do it? we can put the title in h1 element and the description below it in p after the body tag, we will add
<body>
<h1>Dog Blog</h1>
<p>For dog lovers around the world</p>
We can double click the index.html file to open it in the browser or from VS Code press F5 and choose the browser to open the page.
Let’s create the article card.
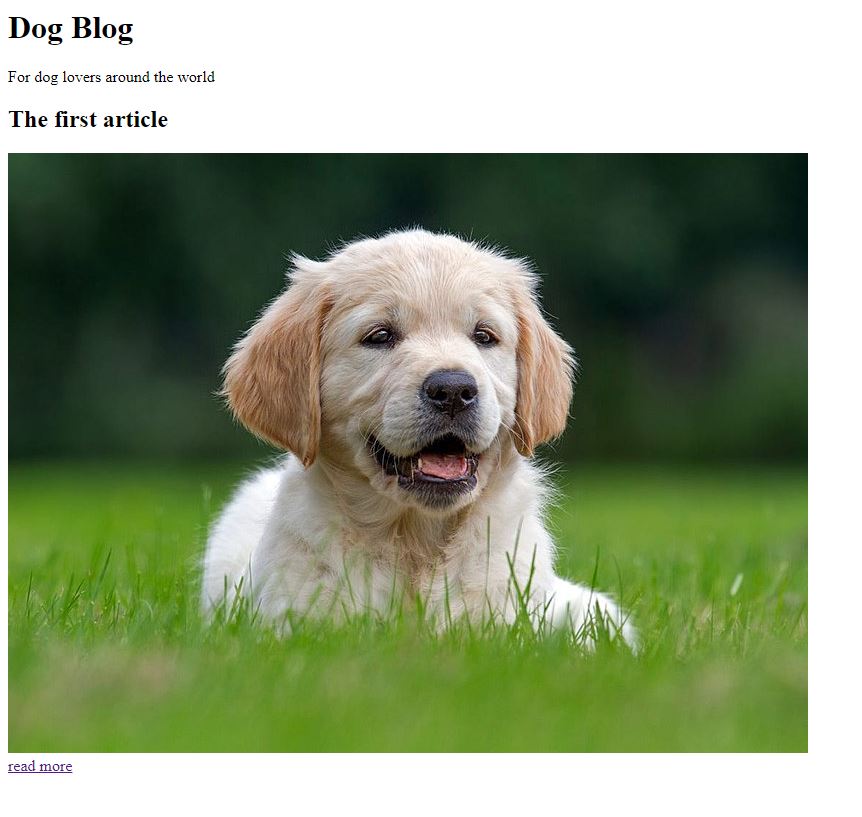
After that, We can create a card for each article consisting of a title, an image, and a read more links. we will add after the blog description.
<article>
    <h2>The first article</h2>
    <img src="dog1.jpg" alt="">
    <br>
    <a href="post.html">read more</a>
</article><article>It is the container for card.<h2>for the card title.h1is larger thanh2we have fromh1toh6.<img/>for displaying the dog image. in src attribute we add the URL or the Path to the image, here we just put the image name, do you know why? because we have the image in the same folder with index.html file.<br>for starting a new line or give space of one line between the elements we can add more for increasing the space.<a>it’s the link for the post.html page. we can use URL or path to the page as how we did with the image.
Good, you have done such a great job. Now let’s add some style to the card. for the article tag.
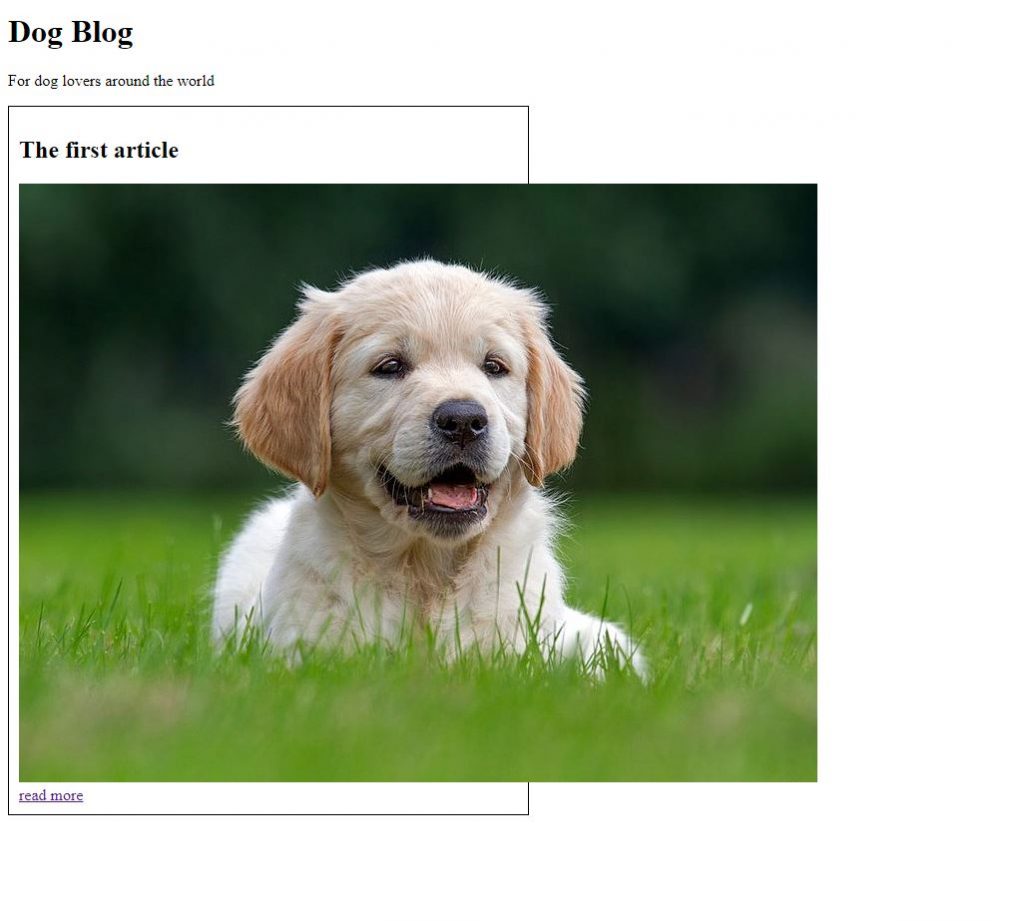
Let’s add style to the article card.
<article style="border: 1px solid #000; width: 500px; padding: 10px">in the style attribute, we add some CSS codes.
border: 1px solid #000for creating border around the card with width of 1 pixle and type solid the the color is black #000width: 500pxwe limited the width to 500px, if you removed that you will find the border reach the end of the browser.padding: 10pxpadding gives space between the border and content by 10 px.
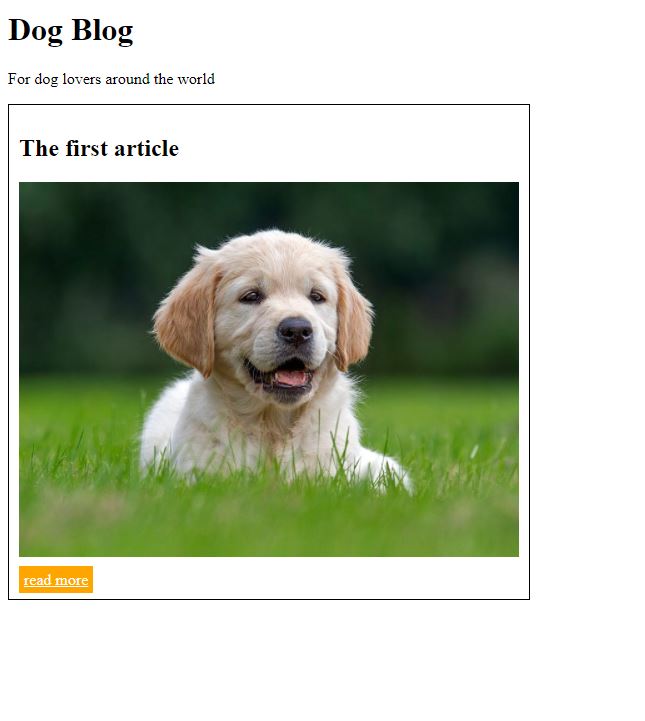
Let’s fix the image to fit inside the box we will add width:100% so that, it will become responsive and fit with the size of its parent element.
<img style="width: 100%; margin-bottom: 10px; " src="dog1.jpg" alt="">We also give margin-bottom: 10px to give space between the image and the read more link.
let’s give the read more some style.
<a style="background-color: orange; padding: 5px; color: white;" href="post.html">read more</a> background-color we made it orange. in addition to the text color is white we change it via color: white
As you can see we can add colors values via codes or names
Adding more posts
Copy the codes from index.html and add it to post.html and change the title and remove the read more link. After that, add the second dog image below the first one.
<!DOCTYPE html>
<html lang="en">
<head>
    <meta charset="UTF-8">
    <meta http-equiv="X-UA-Compatible" content="IE=edge">
    <meta name="viewport" content="width=device-width, initial-scale=1.0">
    <title>The first article</title>
</head>
<body>
    <h1>Dog Blog</h1>
    <p>For dog lovers around the world</p>


    <article style="border: 1px solid #000; width: 500px; padding: 10px">
    <h2 >The first article</h2>
    <img style="width: 100%; margin-bottom: 10px; " src="dog1.jpg" alt="">

    <img style="width: 100%; margin-bottom: 10px; " src="dog2.jpg" alt="">
    </article>


</body>
</html>
Sometimes we need to leave a note or write a comment in our code, we use <!-- --> for writing a comment and it won’t be rendered.
<!-- this is a comment -->Let’s create a table for displaying more information about the dog such as name, age, the country they live in. In the “post.html” file below the image add the code for the table.
 <table>
        <tr>
          <th>Name</th>
          <th>Age</th>
          <th>Country</th>
        </tr>
        <tr>
          <td>Koko</td>
          <td>2 years</td>
          <td>Germany</td>
        </tr>
        <tr>
          <td>Soso</td>
          <td>1 year</td>
          <td>Mexico</td>
        </tr>
</table><table>to start a table element, it need rows inside it.<tr>for spicifing table row.<th>we use it for spicifing the table header data.<td>for spicifing the table row data.
We need to add borders to the table but this time via style element.
<style>
        table, th, td {
          border:1px solid black;
        }
</style>
We called the element by the tag name and give the style we want at once.
 <style>
        table, th, td {
          border:1px solid black;
        }
    </style>

    <table>
        <tr>
          <th>Name</th>
          <th>Age</th>
          <th>Country</th>
        </tr>
        <tr>
          <td>Koko</td>
          <td>2 years</td>
          <td>Germany</td>
        </tr>
        <tr>
          <td>Soso</td>
          <td>1 year</td>
          <td>Mexico</td>
        </tr>
   </table>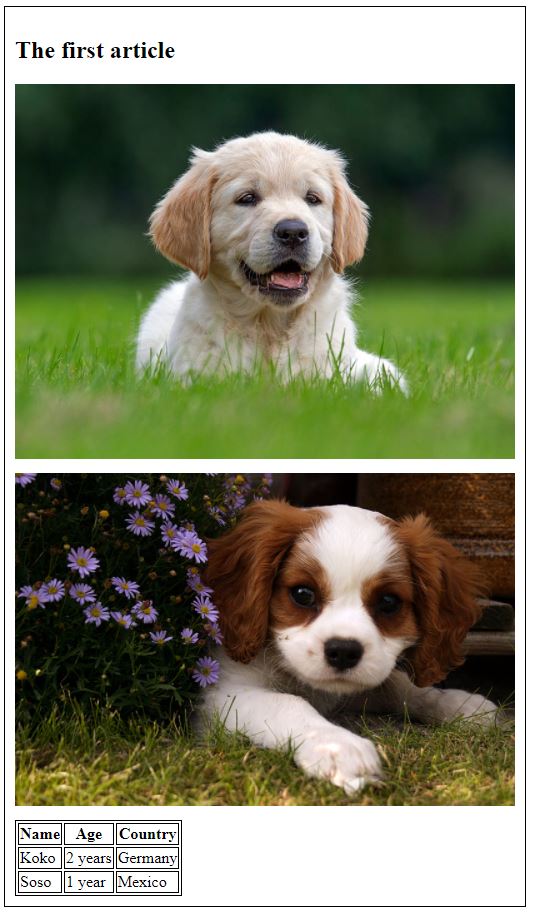
Conclusion
This HTML crash course introduced you to first step in the web development world. In fact, it is like Lego blocks with a few sample blocks, we can create beautiful things. Besides, those elements we used here are the most common. So, keep building web pages. Because The more you build the more you learn.